CALIFORNIA
Proposition 65 Warning
Park the machine on a level surface.
Engage the parking brake.
Shut off the engine and remove the key.

Parts needed for this procedure:
| Wireless hour meter wire harness | 1 |
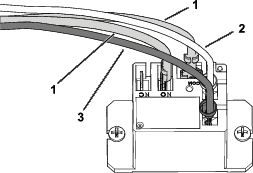
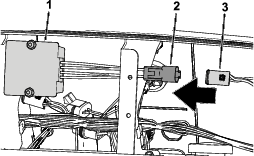
Disconnect the existing female 2-socket connector from the existing hour meter and plug it into the male 2-pin connector on the wireless hour meter wire harness (Figure 2 and Figure 3).
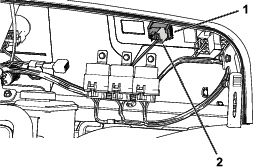
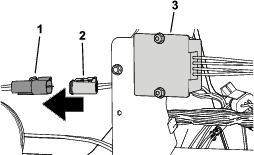
Connect the female 2-socket connector on the wireless hour meter wire harness to the existing hour meter (Figure 3).
Connect the female 6-socket connector to the new wireless hour meter (Figure 3).

Parts needed for this procedure:
| Wireless hour meter wire harness | 1 |
| Relay (48 V) | 1 |
| Screw (#4 x 3/4 inch) | 2 |
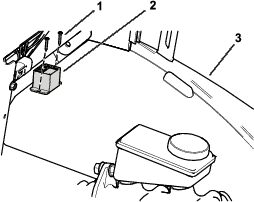
Disconnect the existing female 2-socket connector from the existing hour meter and plug it into the male 2-pin connector on the wireless hour meter wire harness (Figure 4 and Figure 5).
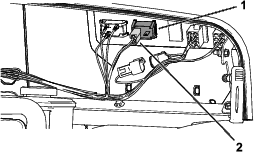
Connect the female 2-socket connector on the wireless hour meter wire harness to the existing hour meter (Figure 5).
Connect the female 6-socket connector to the new wireless hour meter (Figure 5).
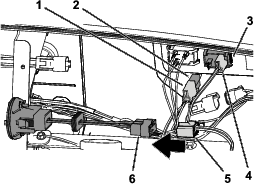
Connect the female 4-socket connector on the wireless hour meter wire harness to the male 4-pin connector on the existing 12 V converter (Figure 6).
Connect the male 4-pin connector on the wireless hour meter wire harness to the female 4-socket connector on the main machine harness (Figure 7).
Install the relay to the left fender using 2 screws (#4 x 3/4 inch) as shown in Figure 8.
Connect the wireless hour meter wire harness connectors to the relay as shown in Figure 9.