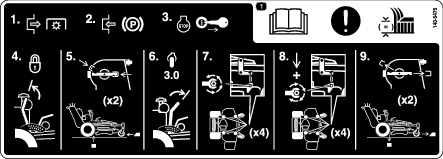
Note: Determine the left and right sides of the machine from the normal operating position.
Safety
Safety and Instructional Decals
 |
Safety decals and instructions are easily visible to the operator and are located near any area of potential danger. Replace any decal that is damaged or missing. |

Installation
Preparing the Machine
-
Park the machine on a level surface, disengage the PTO, and engage the parking brake.
-
Shut off the engine, remove the key, and wait for all moving parts to stop before leaving the operating position.
-
Check the air pressure in the rear tires; refer to the Operator’s Manual for the machine.
Correcting the Height of Cut
-
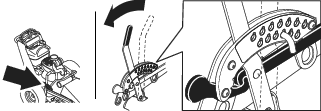
Move the height-of-cut lever to the TRANSPORT position (Figure 1).

-
Rotate the blades until the ends face forward and backward.
-
Place the height-of-cut brackets below the mower deck so that the deck shell rests on the brackets when you lower the deck; refer to Figure 2 and Figure 3 for proper orientation.


-
Lower the deck onto the brackets.
-
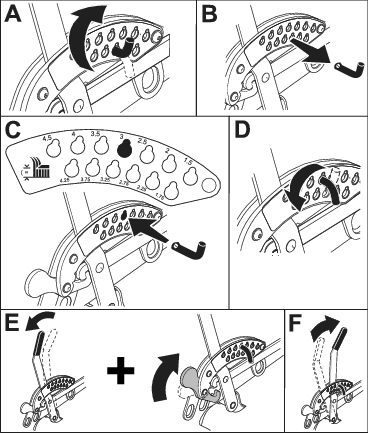
Move the height-of-cut pin to the 76 mm (3 inch) position; refer to Figure 4.

-
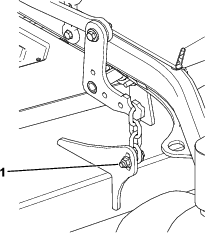
Loosen the adjustment bolts on all 4 corners of the deck so that the deck is sitting on all 4 brackets.

-
Verify that only the deck shell is resting on the brackets and the chains are not tight.
-
Apply downward pressure on the adjustment bolts/chains while torquing the adjustment bolts to 37 to 44 N∙m (27 to 33 ft-lb).
Note: Ensure that the chains remain tight after all bolts are torqued.
-
Verify that you can raise the deck to the TRANSPORT position.
-
Remove the brackets.