Safety
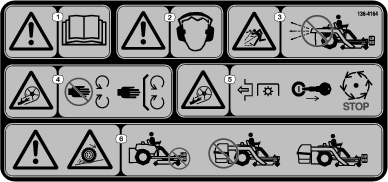
Safety and Instructional Decals
 |
Safety decals and instructions are easily visible to the operator and are located near any area of potential danger. Replace any decal that is damaged or missing. |
Installation
Preparing the Machine
-
Park the machine on a level surface.
-
Disengage the blade-control switch.
-
Engage the parking brake.
-
Move the motion-control levers outward to the NEUTRAL-LOCK position.
-
Shut off the engine and remove the key.
Removing the Existing Cover
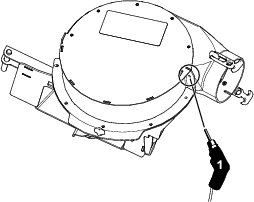
Remove the existing 5 shoulder screws, 5 Phillips-head screws, blower guard, and cover from the blower assembly (Figure 1).
Note: You can discard these parts.
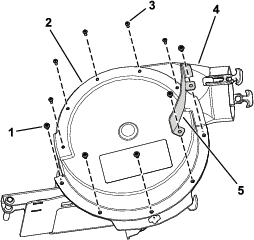
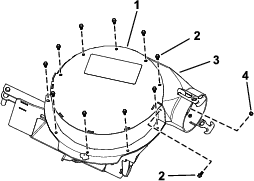
Installing the New Cover
Parts needed for this procedure:
| Cover | 1 |
| Hex-head bolt (1/4 x 5/8 inch) | 11 |
| Locknut (1/4 inch) | 1 |