|
|
|
|
|
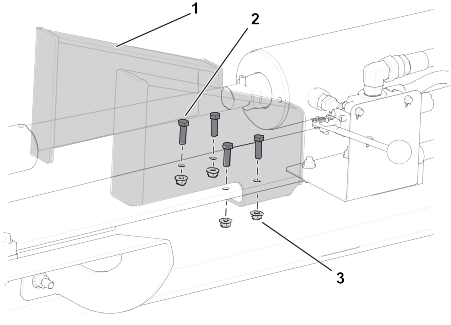
1
|
Dislodger bracket
|
|
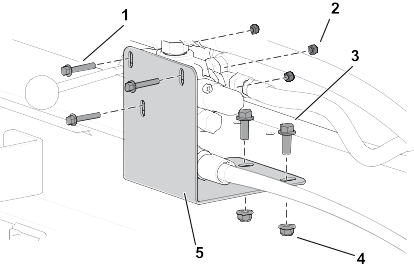
1
|
Valve bracket
|
|
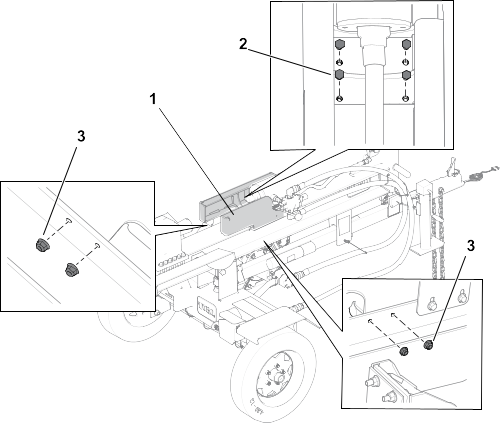
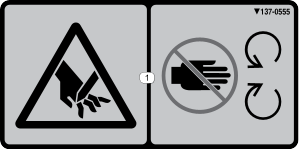
1
|
Decal 137-0555
|
|
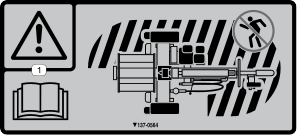
1
|
Decal 137-0564
|