Preparing for Installation
Note: Retain all removed parts for later installation unless otherwise
noted.
-
Park the machine on a level surface, lower the attachment,
shut off the engine, engage the parking brake, and remove the key.
-
Disconnect the negative (-) battery cable from the
battery; refer to the electrical system maintenance section of the
traction unit Operator’s Manual.
Installing the Beacon
Parts needed for this procedure:
| Beacon light | 1 |
| Beacon wire harness | 1 |
| Beacon rod | 1 |
| Electric connector | 1 |
| Bolt | 2 |
| Small plate | 1 |
| Nut | 4 |
| Union fitting | 1 |
| U-bolt | 1 |
| Washer | 4 |
| Bolt | 1 |
| Belleville washer | 2 |
| Washer | 2 |
| Nut | 2 |
| Support bracket | 2 |
| Rubber plug | 1 |
| Rocker switch | 1 |
| Beacon switch | 1 |
-
Install the support bracket to the right side of the
rollbar using the U-bolt, 2 washers, and 2 nuts.
Note: The top surface of the bracket should be approximately 180 mm
(7-3/32 inches) from the front of the rollbar.
-
Instal the support bracket to the install support
bracket with a screw, 2 washers, 2 Belleville washers, and a nut (Figure 1).
Note: Refer to Figure 1 for the support bracket orientation.
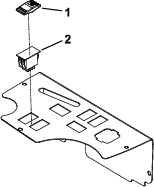
-
Assemble the beacon light with the electric connector,
rubber plug, beacon rod, and the union fitting (Figure 1).
-
Install the beacon-light assembly to the support bracket
with 2 bolts, the small plate, 2 washers, and 2 nuts (Figure 1).
-
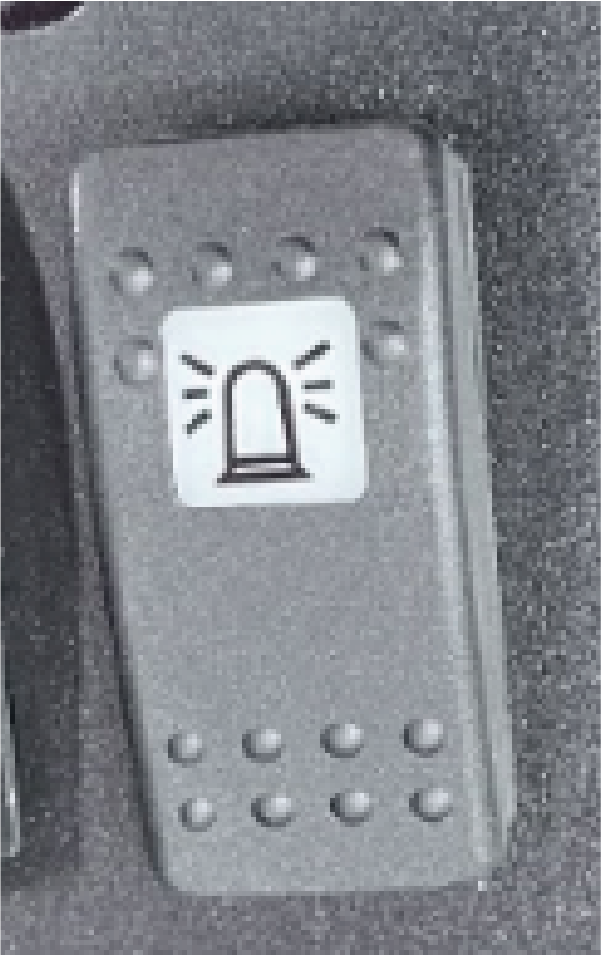
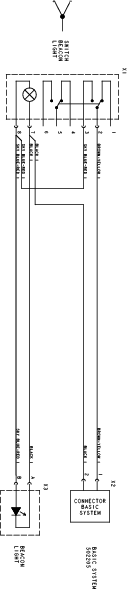
Install the beacon switch and rocker switch (Figure 2).
Installing the Wire Harness
Parts needed for this procedure:
| Wire harness | 1 |
| Cable ties | 8 |
-
Route the harness through the union fitting (Figure 1).
-
Route the red and black wire to the 2-pin holder and
secure it.
-
Connect 2-pin connector to the electric connector.
-
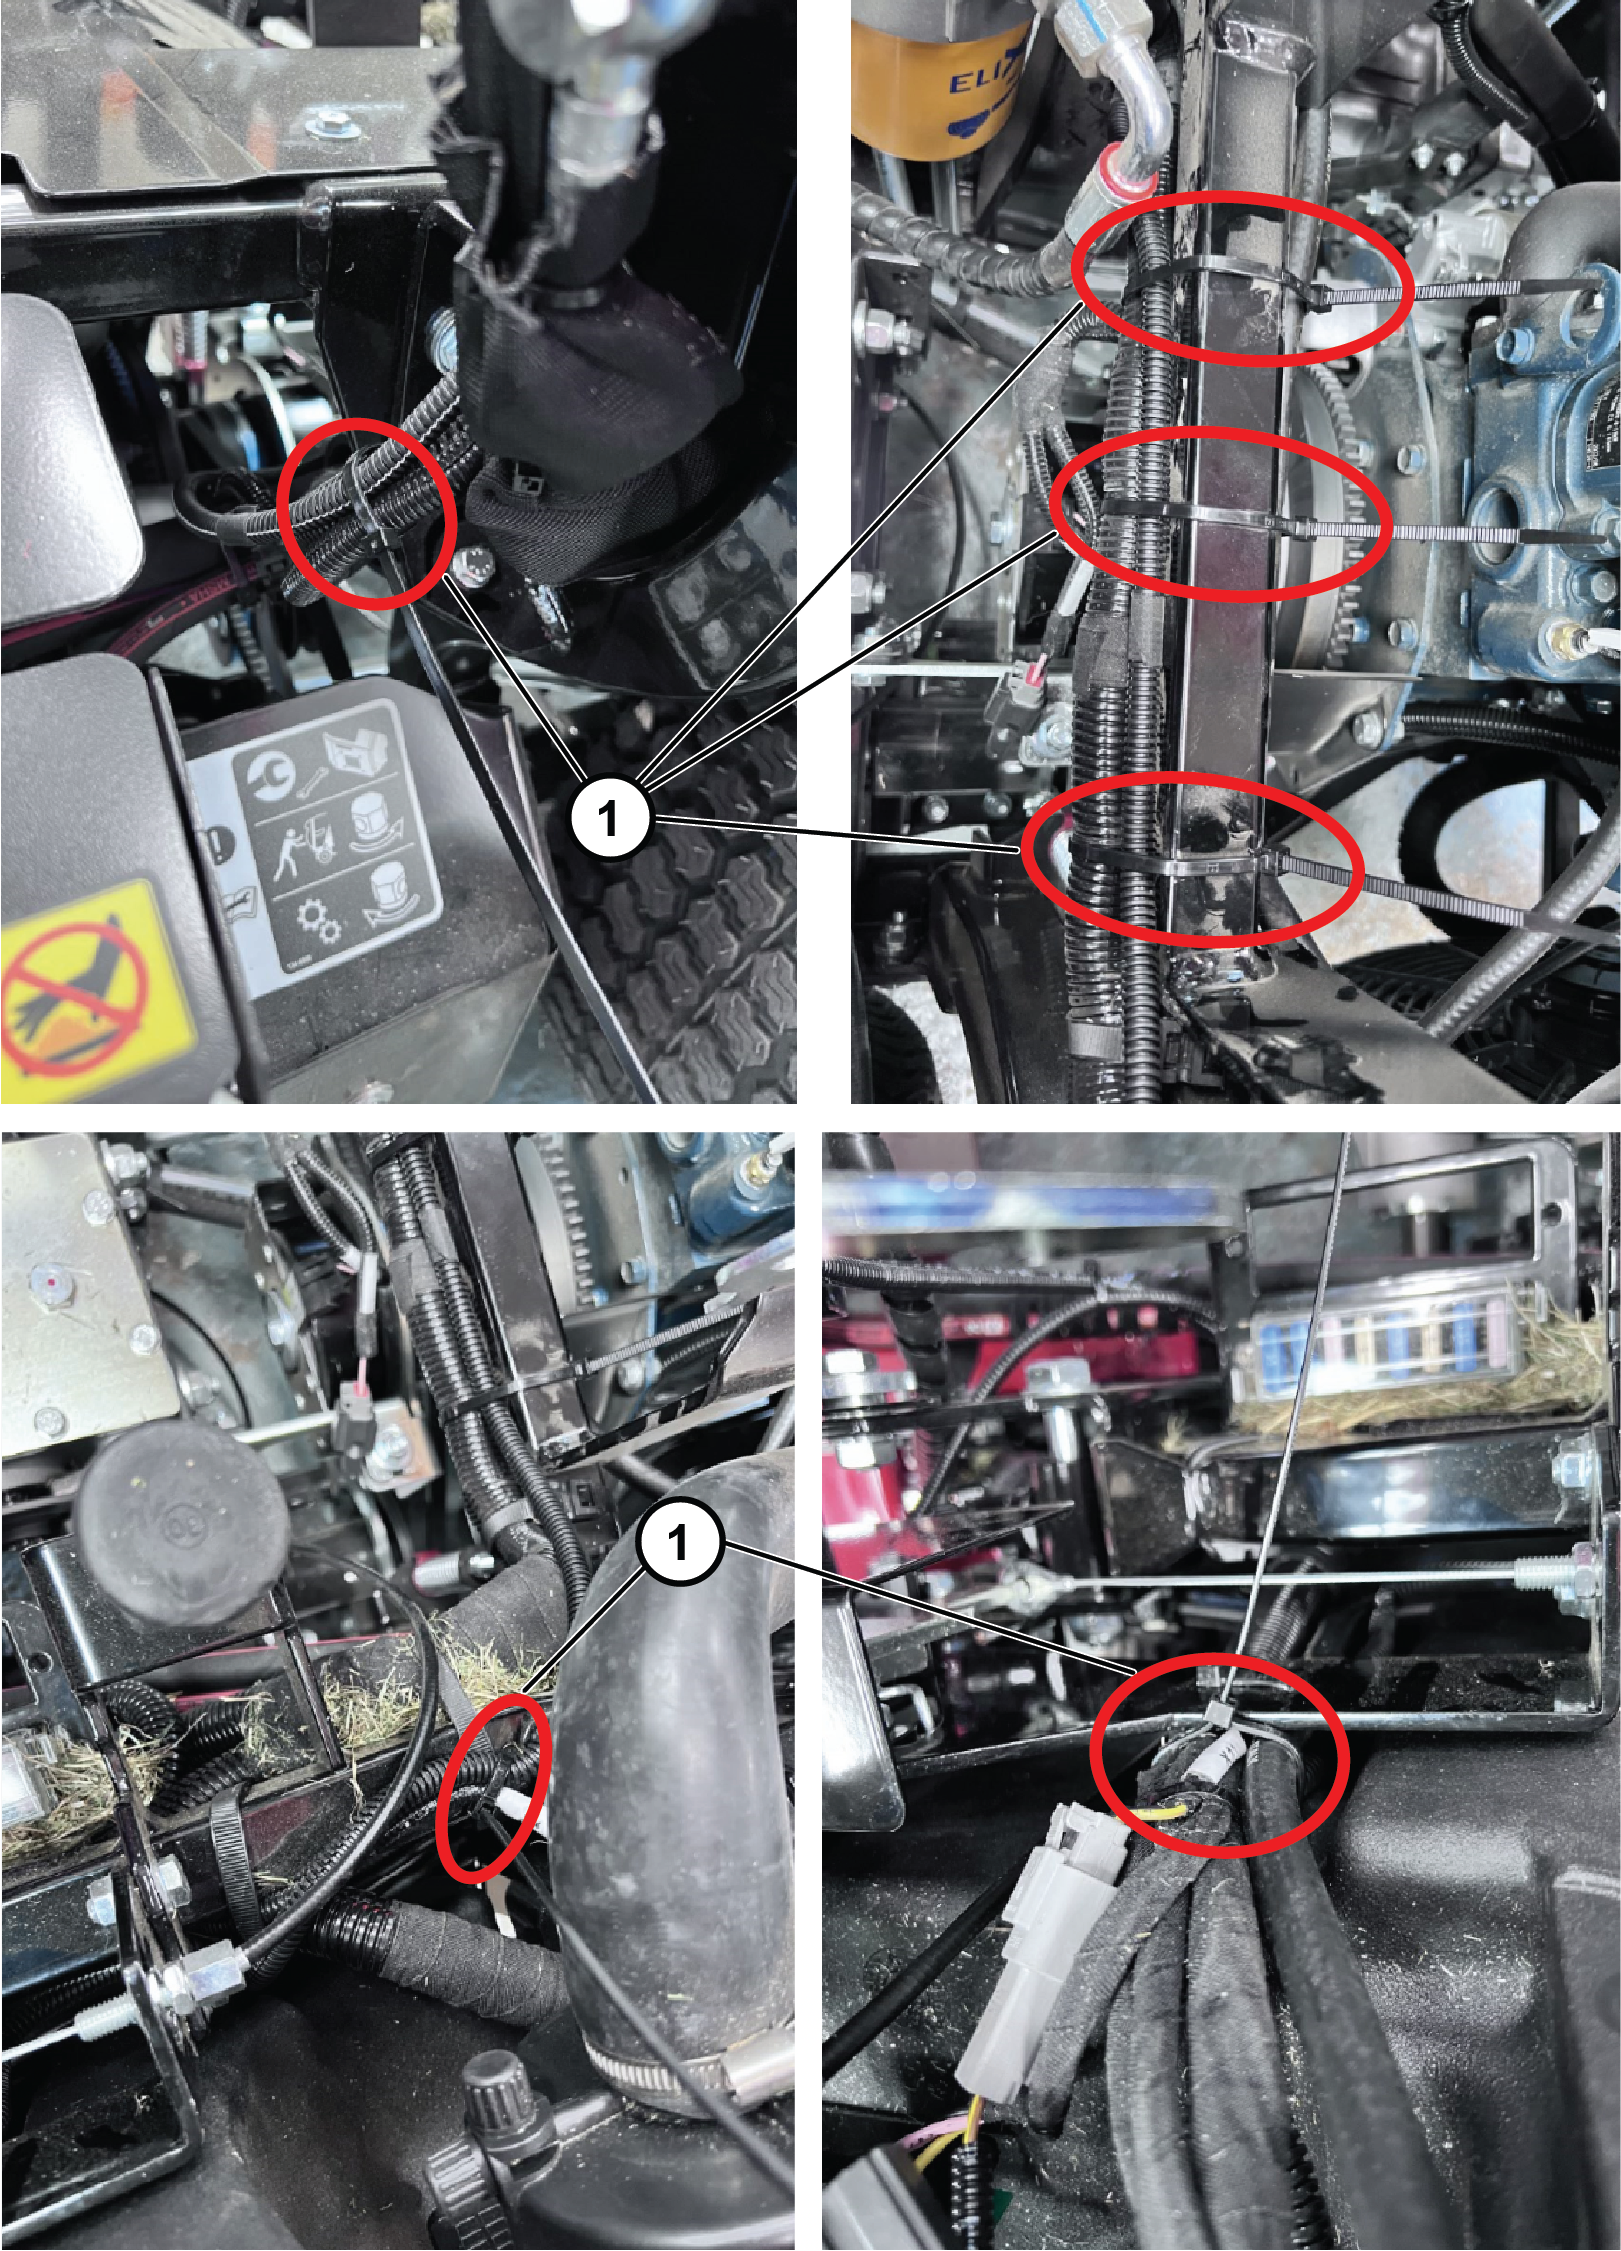
Secure the wire harness with cable ties shown in the
following locations:
-
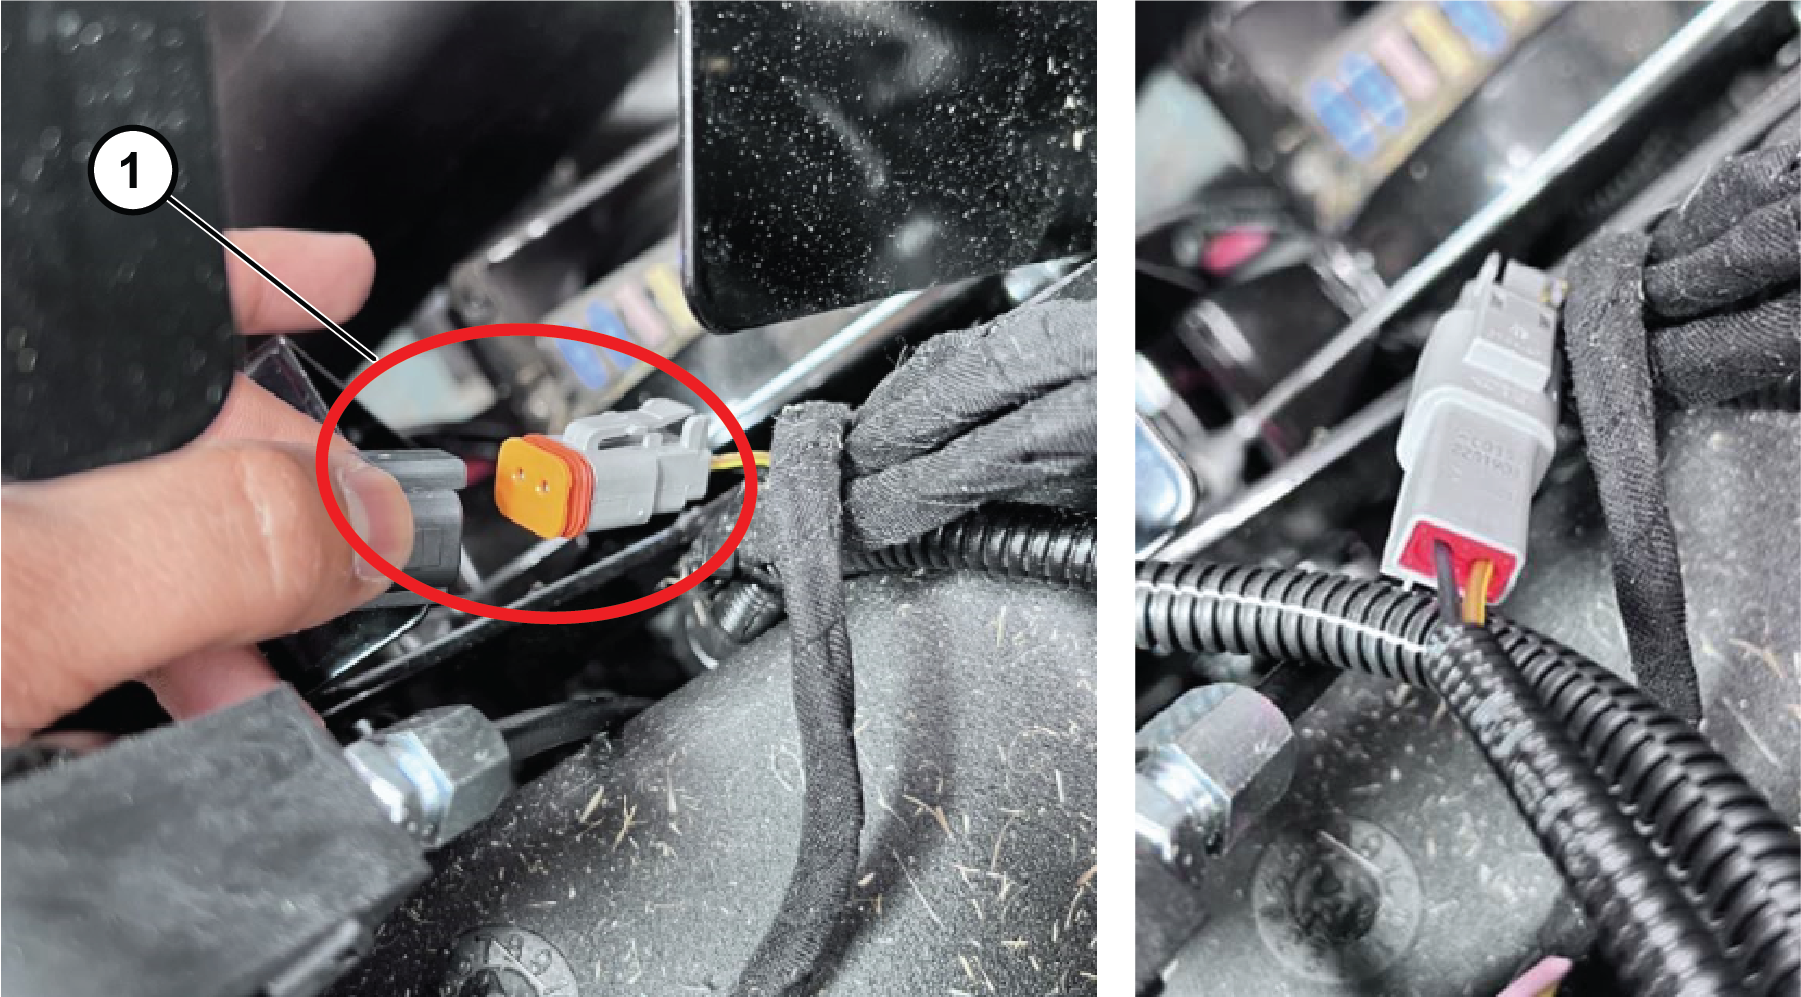
Connect the 2-pin connector from from the beacon wire
harness to the connector on PLH600 machine wire harness.
-
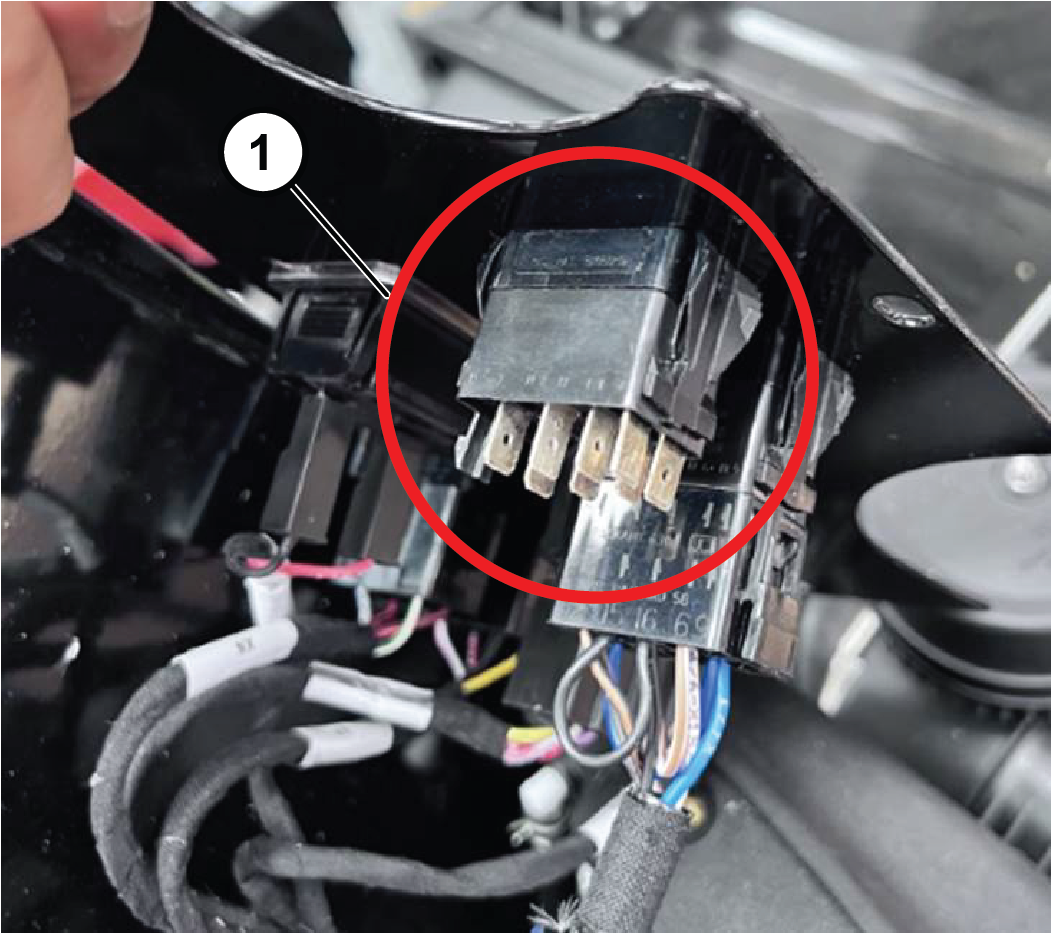
Loosen the console plate, remove the plug, install
the rocker switch, and install the light switch into the console.
-
Connect 2-pin connector to the light switch and secure
the console plate with the previously removed bolts.
-
Connect the battery; refer to the electrical system
maintenance section of the traction unit Operator’s
Manual.