This product complies with all relevant European directives. For details, please see the Declaration of Incorporation (DOI) at the back of this publication.
Safety
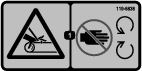
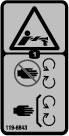
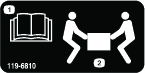
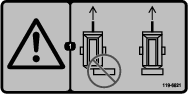
Safety and Instructional Decals
 |
Safety decals and instructions are easily visible to the operator and are located near any area of potential danger. Replace any decal that is damaged or missing. |
Installation
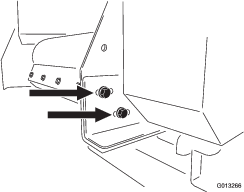
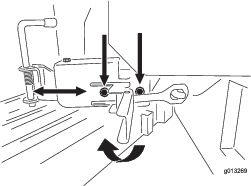
Note: Before installing the cross conveyor to the top dresser, install the side-rail plates. Using the bolts supplied with the kit, install the left and right side plates (Figure 1). Ensure that the scraper remains in contact with the belt when securing the brackets.
-
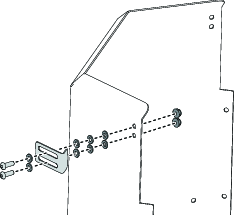
If you plan to use a twin spinner on the same top dresser, remove the top plastic spacer (3/8 inch) as shown in Figure 2, as well as the metal spacer (1/4 inch) and replace them with the plastic and metal spacers provided. This allows the previously installed side-rail plates to remain in place whether you install a twin spinner or conveyor and swivel kit.
-
Remove the swivel and conveyor from the crate.
-
Mount the swivel and sliding guard to the swivel assembly with the 7 bolts and nuts.
Note: Leave the 4 bolts holding the guards together loose.
-
Mount the handle and deflector strap to the conveyor bolts, washers, and nuts.
-
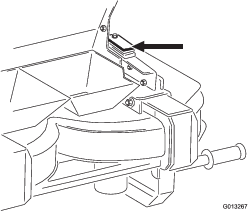
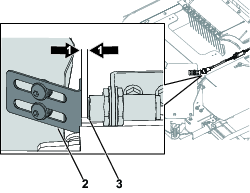
Leaving the conveyor attached to the swivel, having an assistant help you, lift the swivel into position and align the plastic bearing locations with the mounting brackets arrows (Figure 3).
-
Clamp the swivel to the top dresser using the quick attach latches.
Note: If the latches are not snug when clamping, loosen the 2 bolts (1/4 inch) on the latches and adjust them until the latches clamp tight enough to keep the swivel snug on the top dresser (Figure 4).
-
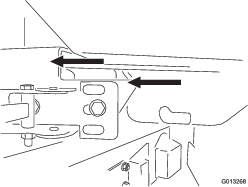
Check the clearance of the adjustable belt guard to the top-dresser conveyor belt.
Note: If the gap between the belt and the adjustable guard is greater than 5/8 cm (1/4 inch), loosen the 4 bolts (1/4 inch) and slide the guard until it is about 1/4 inch from the main conveyor belt on the top dresser (see the arrows in Figure 5).

-
Install the sensor bracket to the swivel guard using 2 bolts (1/4 x 3/4 inch), 8 thrust washers, and 2 nuts (1/4 inch) as shown below.
-
Machines with a proximity sensor only: Adjust the clearance between the proximity sensor and sensor bracket to 3 mm (1/8 inch). The gap should be no wider that 6 mm (1/4 inch).
Note: The proximity sensor must not touch the sensor bracket.
-
Pin the conveyor in the travel position with the motor on the right side of the top dresser (Figure 8).
-
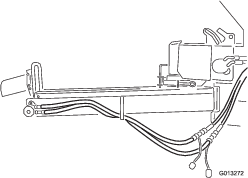
Connect the hoses as shown in Figure 9.
Note: Ensure that the pin goes through both plates.